A busy washroom puts every small detail to work. Soap needs to
arrive where hands naturally pause, in a usable dose, with a
refill arrangement that keeps pace with demand. A well-selected
lavatory-mounted dispenser connects that everyday experience
to the equipment concealed below the counter.
Compare
commercial countertop soap dispensers
by outlet profile, formulation and service arrangement.
For architects, engineers and consultants, the useful comparison
is how each system fits the basin, the cleaning routine and
the facility's operating hours.
Intuitive Hand PositionUsable Soap ReserveMaintainable Assembly
Coordinate the receiving hand, soap delivery path and maintenance
access before fixing the countertop layout. Each decision affects
how the wash station performs after installation.
The User's Hand
Bring the Dose Into the Basin Zone
Evaluate the position of the receiving hand relative to the
soap outlet and bowl opening. Spout projection should allow
comfortable collection while helping contain missed doses
within the basin rather than across the counter or floor.
Examine the User Journey
Review the sequence from soap collection to rinsing with
the installed faucet. Include seated users in the layout
review and coordinate reach depth with the
U.S. Access Board lavatory guidance
.
Liquid and foam systems use delivery arrangements suited to
their approved formulations. Record the selected soap and
dispenser configuration together so a later consumable
substitution does not introduce an incompatible viscosity
or foaming behavior.
The
FDA's soap reference
explains the distinction between cleansing products and
products marketed with therapeutic claims. Sensor
activation alone does not establish antimicrobial efficacy.
The Service Visit
Specify What Staff Can Replace
Establish which components can be serviced independently:
reservoir, feed tube, pump, power module and sensor assembly.
A clear replacement-parts record helps facilities teams resolve
faults without treating every interruption as a complete
fixture replacement.
Review Service Continuity
Request documented component compatibility, cleaning
procedures and post-replacement priming instructions.
For larger installations, compare individual bottles with
multi-feed soap systems
and assess how an affected outlet can be serviced.
For a liquid system, divide usable reservoir volume by the
verified dose to estimate available dispensing cycles.
Then relate those cycles to expected daily activations.
This connects dispenser selection to the actual refill schedule.
800 mLAssumed usable soap volume
1 mLAssumed dose per activation
800 CyclesTheoretical dispensing capacity
Illustrative calculation, not a product rating. Allow for priming,
residual soap, repeat activations and a refill reserve.
Use the manufacturer's measurement method for foam systems.
Calculate the Refill Interval
Divide theoretical dispensing capacity by expected daily
activations to estimate the supply interval. At an assumed
200 activations per day, 800 cycles represent four days
before operational allowances. Schedule replenishment
earlier to accommodate peak use and the minimum reserve.
The visible dispenser should be coordinated with the surrounding
fixtures and the concealed supply arrangement. Review these
interfaces before completing the installation package.
Fixture Coordination
Bring Faucets and Dispensers Into One Plan
Overlay the faucet, dispenser and basin dimensions on the
countertop drawing. Check outlet separation, mounting
penetrations and the position of concealed equipment so
installation and servicing do not compete for the same space.
Inspect the Coordination Package
Include deck thickness, fixing access, reservoir-removal
clearance and cable routing. Confirm that protective
pipe covers and cabinet panels leave the intended
maintenance route available.
A shared reservoir changes the service arrangement for
an entire basin bank. Review approved tubing lengths,
connection locations and priming requirements rather than
assuming every outlet can be supplied through the same route.
Review the Distribution Route
Identify each outlet and its feed path in the maintenance
record. Confirm the manufacturer's procedure for
disconnecting a branch, replacing delivery components
and restoring discharge after service.
A well-designed wash station makes the next step obvious: place
a hand beneath the soap outlet, collect the dose and move directly
to rinsing. Lavatory-mounted dispensers bring that sequence to the
basin, with the pump, reservoir and power components coordinated
below the counter.
Specify the assembly around the real installation: countertop
thickness, bowl opening, accessible hand position and the route
used to replenish soap. Compare
commercial countertop soap dispensers
by documented mounting dimensions and delivery configuration.
Engineer the Dispenser Around the Lavatory Assembly
Architects, engineers and consultants should resolve the visible
outlet and concealed service equipment together. These coordination
criteria help translate a deck-mounted sensor soap dispenser into
an installation that can be commissioned, cleaned and maintained.
Architectural Interface
Deck Thickness and Fixing Loads
Check the dispenser hole diameter, usable shank length and
clamping range against the complete countertop build-up.
Include backing, basin flanges and reinforcement in the review;
a fitting that passes through the surface may still lack space
for its washer and retaining nut.
Explore Mounting Details
Keep the fixing clear of sink clips and cabinet rails.
Establish an edge distance suited to the countertop
material, use the manufacturer's gasket or sealing detail,
and follow its tightening instructions to avoid
overstressing brittle surfaces. Coordinate the underside
tool-access envelope before drilling.
Fluid Delivery
Viscosity, Tubing and Pump Duty
Soap delivery depends on formulation, tubing geometry and the
selected pump. Excessive tube length, sharp bends or air ingress
can affect priming and discharge. Review approved soap viscosity,
reservoir elevation and allowable feed-line length in the
model documentation.
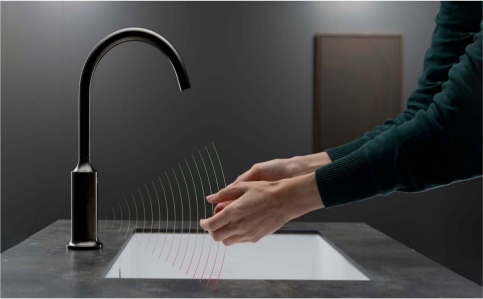
Position the soap activation zone so a user can collect product
without unintentionally starting the adjacent faucet. Evaluate
sensor orientation against polished basins, nearby fixtures and
the normal movement of hands during washing.
Explore Activation Geometry
Test the final arrangement under the installed lighting
with dry and wet basin surfaces. Check both appliances
individually and together, including withdrawal of the hand
and cleaning movements. Use a full-size mock-up when
closely spaced outlets or reflective finishes make
detection uncertain.
Inclusive Placement
Reach Depth and Knee Clearance
Review the hand position needed to activate and receive soap
from the accessible approach. Under-counter bottles, brackets
and control boxes must remain outside the required knee and
toe clearance. A touch-free sensor does not establish
accessibility for the complete installation.
Reserve enough space to remove the bottle, open the refill
connection and disconnect service components without loading
the feed tube. Keep the reservoir accessible after pipe
insulation, protective enclosures and cabinet panels
are installed.
Explore Reservoir Configurations
For multi-basin projects, assess
multi-feed soap dispenser systems
against individual reservoirs. Confirm approved branch
lengths, connection arrangements and maintenance
procedures for the chosen system.
Electrical Service
Power Access Without Fixture Removal
Select the documented battery or external-power configuration
and keep the service point reachable. Secure low-voltage cables
away from moving cabinet hardware, provide strain relief where
specified, and locate connectors according to the manufacturer's
moisture-protection instructions.
Explore Power Options
Consider
battery-operated soap dispensers
for suitable retrofit layouts; verify replacement access
and low-power behavior before approval.
Let Basin Geometry Guide the Outlet Position
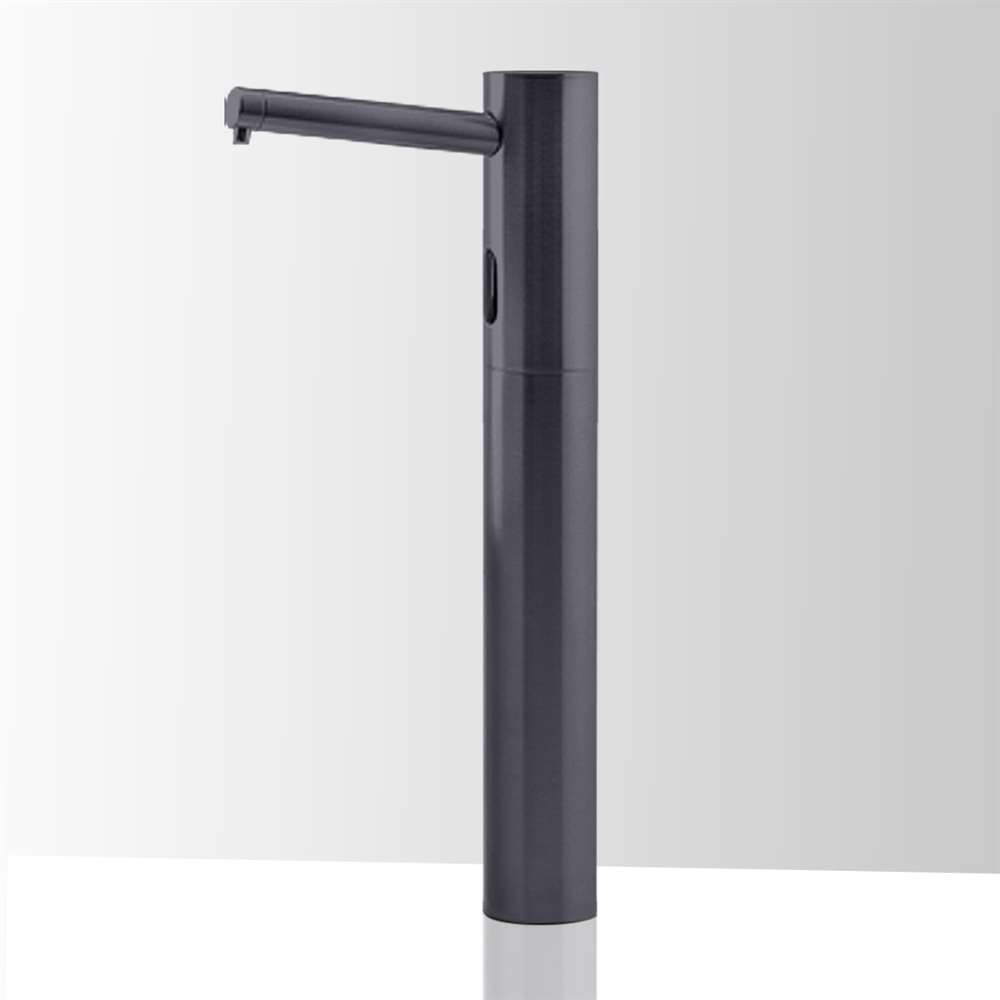
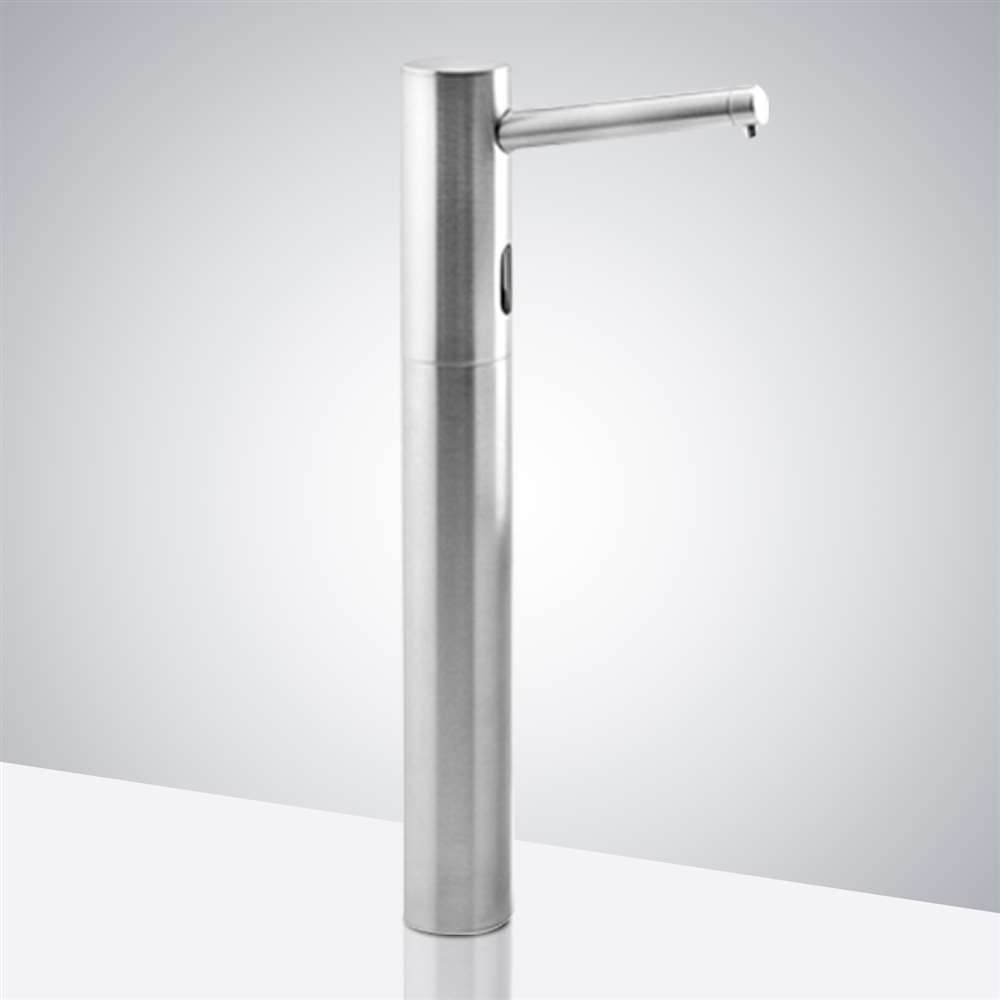
Use the images as visual references for outlet geometry. Selection
should follow the measured relationship between the spout,
receiving hand and basin opening, supported by the chosen
dispenser's installation drawings.
Outlet Geometry
Place the Receiving Hand Over the Bowl
Check the outlet's horizontal reach from the mounting
centreline. The usable collection position should allow
the hand to sit beneath the nozzle without contacting
the basin rim or crowding the adjacent faucet.
Examine Clearance Relationships
Review outlet height against the basin profile and
the required hand space. Keep missed doses within
the intended wet area where practical, and test
the fixture arrangement with a full-size mock-up
before finalizing countertop penetrations.
Delivery Configuration
Match the Outlet to the Soap System
The visible spout is one part of the delivery path.
Confirm that the selected nozzle, pump and formulation
belong to the approved configuration; similar-looking
fixtures may require different components for liquid
or foam delivery.
Commission the pump, reservoir and outlet as one delivery path.
Use the approved soap formulation, allow the system to prime,
and verify repeatable discharge before handing the wash station
over to facilities staff.
Open Commissioning and Handover Checks
Prime the feed path:
follow the specified priming sequence and check for loose
connections, trapped air or restricted tubing.
Measure discharge:
collect multiple doses after priming. For a liquid system,
divide the collected volume by the number of activations
to estimate the average dose. Evaluate foam using the
manufacturer's stated method.
Check outlet behavior:
observe delayed delivery, residual dripping and repeat
activation after hand withdrawal; record any approved
setting changes.
Demonstrate refill access:
remove and reinstall the reservoir with all permanent
pipework and cabinetry in place, then confirm that the
dispenser resumes normal operation.
Record the installed configuration:
retain the model, pump type, power arrangement, approved
soap, settings and replacement-component references
in the maintenance file.
Government Guidance for Placement and Refill Practice
Accessible Wash Stations
The Access Board explains how reach depth and under-lavatory
clearance work together. Coordinate the dispenser's usable
position and concealed equipment with the accessible lavatory.
CDC healthcare guidance advises against adding soap to a
partially empty dispenser because of contamination concerns.
Establish an emptying, cleaning and refill procedure consistent
with the dispenser manufacturer and facility policy.
FDA states that evidence does not establish superior illness
prevention for consumer antibacterial soaps over plain soap
and water. Its consumer guidance does not cover healthcare
antiseptic soaps; select clinical formulations under the
facility's protocol.